Wish you could play Axis & Allies in twenty minutes?
Well, with designer Paolo Mori’s Blitzkrieg!...you still can’t do it.

Buuuut what you can do is get a vague impression of that experience...without the need to clear your schedule for the entire day.
The game is pretty simple: just drop a token from your Reserve into a Battle Space in the first row of any of the five campaigns. Blue spaces can only contain Navies, brown spaces can only contain Armies and Airforce Units can go in either environment.
Whenever you play a tile you move your token on the Battle Track equal to the value. In addition, if the spot you just covered has a Battle Space Effect, you carry it out. This might add bonus tiles to your Reserve, cause your opponent to deplete their Reserve, net you a cool new Research Token, score a bonus bump on a Battle Track or advance the War Victory Track.

If the Battle Track is on your side when you close out a campaign, you’ll score the appropriate points plus any bonuses. Closing out a campaign then makes the next one accessible.
If you manage to max out the Battle Track in any Theater of Operations, you’ll close down what remains, gaining all of the remaining unclaimed Battle Space benefits as well any War Victory Track points you're entitled to!
The game ends when someone hits 25 points on the aforementioned War Victory Track. If the Axis accomplish this first, the Allies get one last turn to meet or beat their score.
Want the full rules briefing? Then click on the following link to read the entire dossier!
***
Blitzkrieg! Playthrough
Starting with a 1-value Navy 1, a 1-value Airforce and a 0-Blitz Airforce unit, the Axis play the Navy unit in the Western Europe Sea Space, adding a random new tile to their reserve: a 2-point Airforce. After moving the Battle Marker one space towards the Axis side they pull a replacement 2-point Navy tile.

The Allies start with a 3-point Navy, a 1-point Army and a 1+ point General. They add the Naval unit to Africa / Middle East, take a random token from the Research Pile, add it to their bag and then shift their Battle Marker three spaces towards the Allied side. They then draw a 1-point Navy.
After playing their 0-value Blitz Airforce unit in Western Europe, the Axis add a random Research Token to their bag. They follow this up with a 1-point Airforce unit in that same theater, shifting the Battle Marker one space towards the Axis side and closing off that campaign! This nets the Axis a grand total of three points on the War Victory Track: one for the space and two for the campaign. After drawing a 2-point Navy tile they pass the turn along.
In an effort to fight back in Western Europe, the Allies place their 1-point Army in the Bombing space. This forces the Axis to throw out a random 2-point Naval tile and shifts the Battle Marker one space back towards the middle. They conclude their turn by drawing another 1-point Army as a replacement.
By placing a 2-point Airforce tile in Western Europe, the Axis earn an addition to their Reserve (coincidentally another 2-point Airforce). After shifting the Battle Marker two spaces towards the Axis side, they draw a 3-point Naval Tile.
The Allies drop a 1-point Army unit in Africa / Middle East. This lets them shift a different Battle Track three spaces in their favor, so they opt for Western Europe! They then draw a new unit: a 1-point Army token.

A 3-point Navy in Africa / Middle East moves the Battle Track a total of four spaces towards the Axis side, with the +1 bonus coming from the space itself! They then pull a 1-point Airforce tile to refill the Reserve.
The Allies polish off the first Africa / Middle East campaign with a 1-point Navy…moving the Battle Track onto their side and scoring four points on the War Victory Track, with the +1 bonus coming from the just-covered space. They then pull a random 1-point Airforce tile.
Similarly, the Axis finish off Western Europe with a 1-point Airforce unit. This barely nudges the Battle Track onto their side, but it's enough to net them three points on the War Victory Track. At the end of their turn they retrieve a 1-point Navy unit.
Unable to resist the tempting third space of the Western European campaign, the Allies claim it with a 1-point Air unit, netting a random Research Token placed directly into their Reserve! This turn out to be “Inspired Leadership”! They then draw a replacement Aircraft of the same strength.
The Axis responds by playing a 2-point Naval Unit in the second Africa / Middle East campaign. By covering this space they get to take two tiles out of the bag and add it to their Reserve, all the while shifting the Battle Track onto their side. Between this and their end-of-round draw, they acquire a new 1-point Navy, a 1-point Army and an Admiral.
By dropping their +1 "Inspiring Leadership" tile on the Pacific Ocean's Bombing space, the Allies claw the Battle Track back onto their side. More importantly: they double the ability of the space, forcing the Axis to throw out two (!) tiles: a 2-point Aircraft and a 3-point Army! They finish off this boss turn by picking up a 1-point Air unit.

Now somewhat hamstrung, the Axis place a 1-point Navy down to shift the Pacific Ocean Battle Track to the neutral position. This lets them place a random Research Tile in their bag, finish the campaign and - since they’re tied - both factions score a +2 bump on the War Victory Track. The Axis then draw a 2-point Airforce unit.
The Allies jump on the Research x 2 space in the second Pacific Ocean campaign with a 1- point Air unit, moving the Battle Track onto their side. After adding two random Research tiles to their bag they pull a 0-Blitz Aircraft tile to end their turn.
A 2-point Air unit lets the Axis pounce on the Industrial Production space in the second Pacific campaign. This shifts the Battle Track onto their side. They then pull a 1+ General token and a 1-strength Airforce unit from their bag and pass their turn.
Armed with a Blitz unit, the Allies polish off the third Western Europe campaign with another Air tile. The first space shifts a different campaign’s Battle Track marker three spaces, so they opt for the Pacific! The second 1-strength Air Unit finishes the campaign, barely nudging the Battle Track one space onto their side and granting them five more War Victory points. A drawn 4-point Army unit concludes their turn!
The Axis kick off the conflict in South East Asia with a 1-point Aircraft, moving the Battle Track one space in their direction. This also gives them two free bumps on the War Victory track and a new 2-point Army tile pulled from the bag.

Eastern Europe is dragged into the war when the Allies drop a hefty 4-point Army unit on the Industry space of the first campaign. This gives them a huge 4-point swing on the Battle Track and lets them add a new tile to their Reserve! Between this and their end-of-turn draw, they stockpile a 3 and a 2-point Naval unit!
The Axis assign an Admiral to the Navy space in the second Pacific campaign. Along with the Airforce unit, this shifts the balance on the Battle Track back to zero and moves the Eastern Europe Battle Track two spaces towards the center! They then pull a 3-value Army unit!
Next up, the Allies drop a 1-point Army unit in the last space of the second Pacific campaign. This moves the Battle Track onto their side and nets them three points on the War Victory Track. They then pull an Admiral tile from the bag to end their turn.
In an unexpected move, the Axis play a 3-point Army Unit in Eastern Europe, shifting the Battle Track four spaces, with +1 coming from the space itself! This closes the campaign, earning them two points on the War Victory Track. Their new tile draw is a 1-point Army tile.
The Allies respond by Bombing their rivals in the Pacific with a 3-point Navy, shifting the Battle Track accordingly! The Axis loses its 2-point Army unit while the Allies pull the exact same tile to finish their turn!
It’s a gamble, but the Axis cover up the 2-point Research space in the second Eastern Europe campaign! This moves the Battle Track into the third space on the Axis side. They bag two new Research Tokens, silently wondering if they’ll ever see the light of day again. In a stroke a good fortune, they pull one of them: a 3-point Jet Fighter!

Continuing to dominate via sea power, the Allies put a 2-point Naval unit down in the third Pacific Ocean campaign, which shifts the Battle Track past the first bonus threshold and ticks up the War Victory track by two! Next up they pull a 2-point Airforce Unit from the bag and pass their turn.
The Axis place a 1-point Army in the second North Africa campaign, shifting the Battle Track three spaces towards the Axis side (+2 points thanks to the space itself) and hitting the bonus benchmark. They then draw a powerful 3-point Navy unit from the bag!
The Allies complete the third Pacific campaign by dropping an Admiral in the final spot and shifting the Battle Track three more spaces! This earns them a whopping six points on the War Victory track (+1 space due to the benchmark). Their replacement tile is a 1-point Navy.
The Axis try and strike back by dropping a 3-point General down (1 Army plus the token itself), which moves the Battle Track two space, closes the second Africa and Middle East campaign and then scores them their own 6-point windfall! Their new pull is a 2-point Navy!
A 2-point Army Unit is placed in the second Eastern Europe campaign, nearly swaying the Battle Track back to the center. After this inches the War Victory Track one more space, the Allies are now within striking distance of winning! Their replacement tile is a 2-point Army.
Undaunted, the Axis place a 2-point Navy down on the second Eastern Europe campaign, shifting the Battle track two spaces back in their favor, closing it off and rewarding them with two points on the War Victory Track. They are particularly encouraged by their next random draw: an insane 4-point Aircraft Carrier!

Alas, it's all for naught! With the third Eastern Europe campaign now open, the Allies jump a space that shifts the War Victory Track with a 2-point Army unit. Since they went second to start the game, they win outright!

***
REVIEW
PROS
- It’s easy! Simply drop a tile (two if the first is a “Blitz” unit), move the appropriate track and do what it says on the space, if applicable. Generally speaking, the rules are pretty clear and intuitive.
- It’s tense! Every single turn you’ll struggle to come up with the optimal play. You’ll constantly be weighing the importance of snagging something beneficial for yourself versus denying your opponent key assets. Sometimes you even have to make the heart-rending decision to dump resources into a lost cause just to avoid total catastrophe.
- It’s surprisingly strategic! Like equally-engaging games such as 7 Wonders: Duel, you can’t get too immersed in your own plans and ignore what your opponent is up to. If you let them max out a particular campaign’s Battle Track, it can be absolutely ruinous!
- It’s variable! You have no clue what tiles you’ll pull or what Research will be developed. Plus the game now comes with the Nippon Expansion which posits a Japanese invasion of the U.S., replete with an appearance by Godzilla (!!!). Oh, the solitaire mode is also more than just a mere afterthought.
- It’s oddly thematic! Yes, everything is abstracted, but the game does a pretty good job replicating the tug of war inherent in a global conflict. You’ve got bombing raids, blitz attacks, increased production, interconnected campaigns, sea and land battles, the power of air superiority, propaganda, tactical and strategic advantages and a wealth of unexpected options courtesy of the Research Tokens.
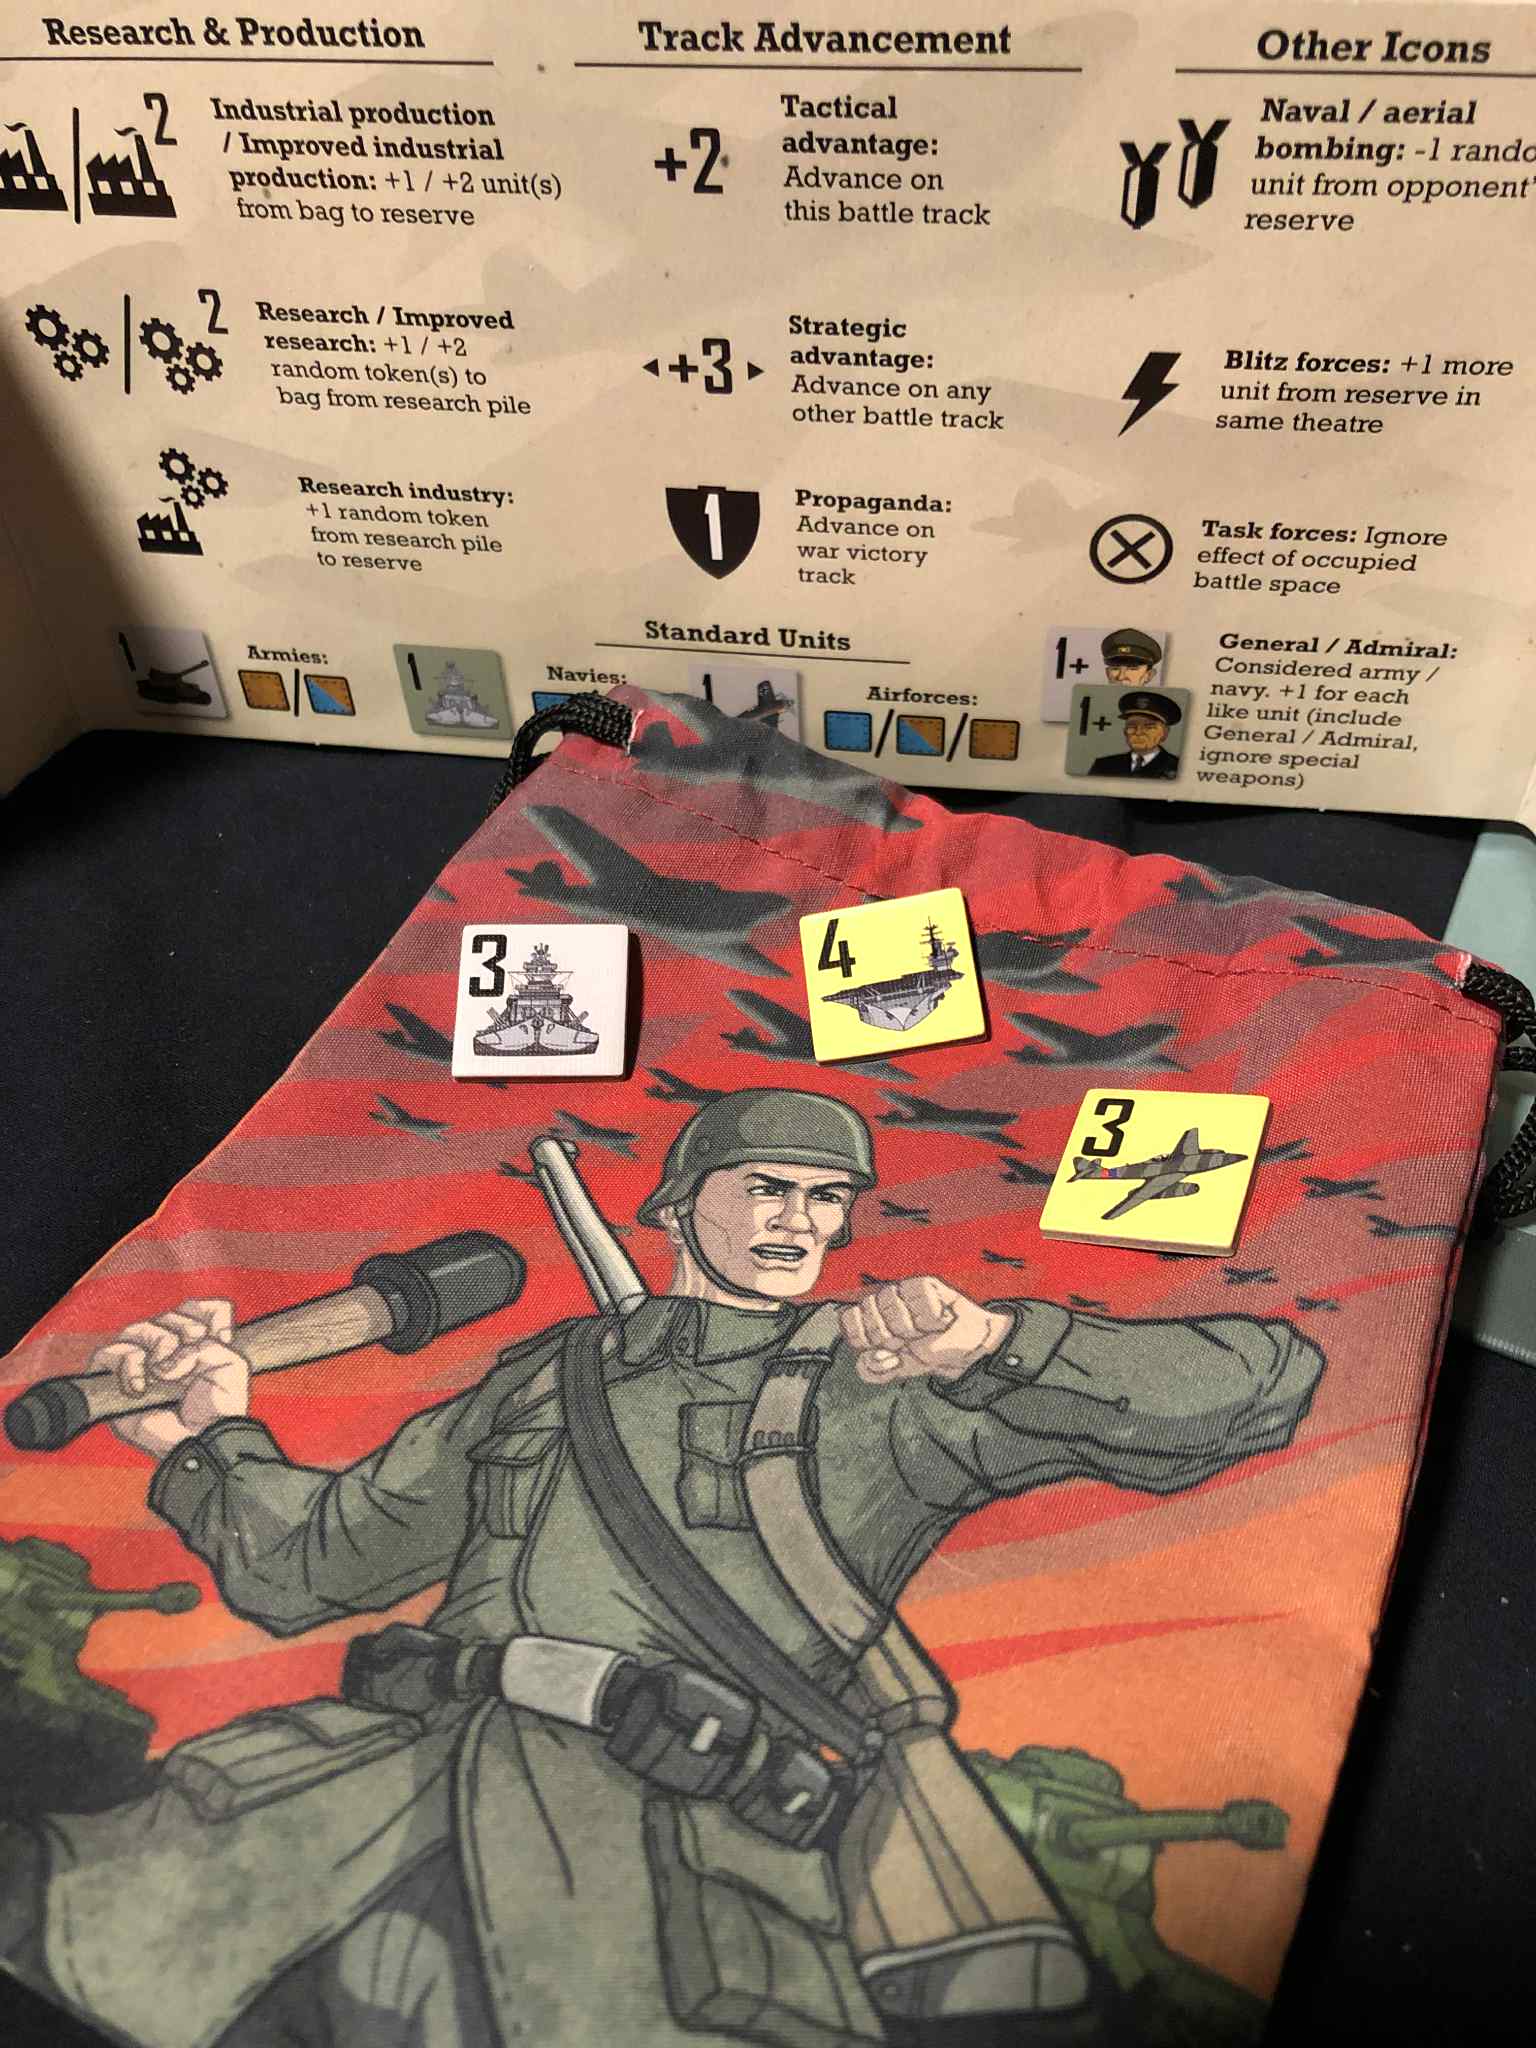
- It looks great! The art on the tokens is fantastic, the fabric token bags are incredible and the info screens are practical and informative.
CONS
- I’m sure some will say that luck plays a huge part in the game but I think it still comes down to playing a balanced game, hitting those sweet Battle Spaces to limit your opponent’s options and expand on your own opportunities.
- There are a few confusing rules (see below), but generally speaking, the answers are there to be found in the manual.
A FEW RULES TO REMEMBER
- You only earn Battle Track bonus points when a campaign or a theater is closed.
- Maxing out a Battle Track closes what's left of that theater. The victor gets the remaining War Victory points for the campaign(s) as well as the two bonus points on the Battle Track. They then carry out all the remaining uncovered Battle Spaces in the campaign in any order they wish.
- Since the Axis go first, make sure the Allies get a final turn.
- Thanks to Bombing and Industrial production, your Reserve Size will likely change quite a bit.
- It neglects to mention this on the screens, but Admirals and Generals also benefit from Airforce units.

***
All told, Blitzkrieg! is an innovative little tile laying game that features some intense decisions, mental gymnastics and strategic pivots. As such it scores five pips out of six!
.jpg)


